Wednesday, July 17, 2013

Wipes.

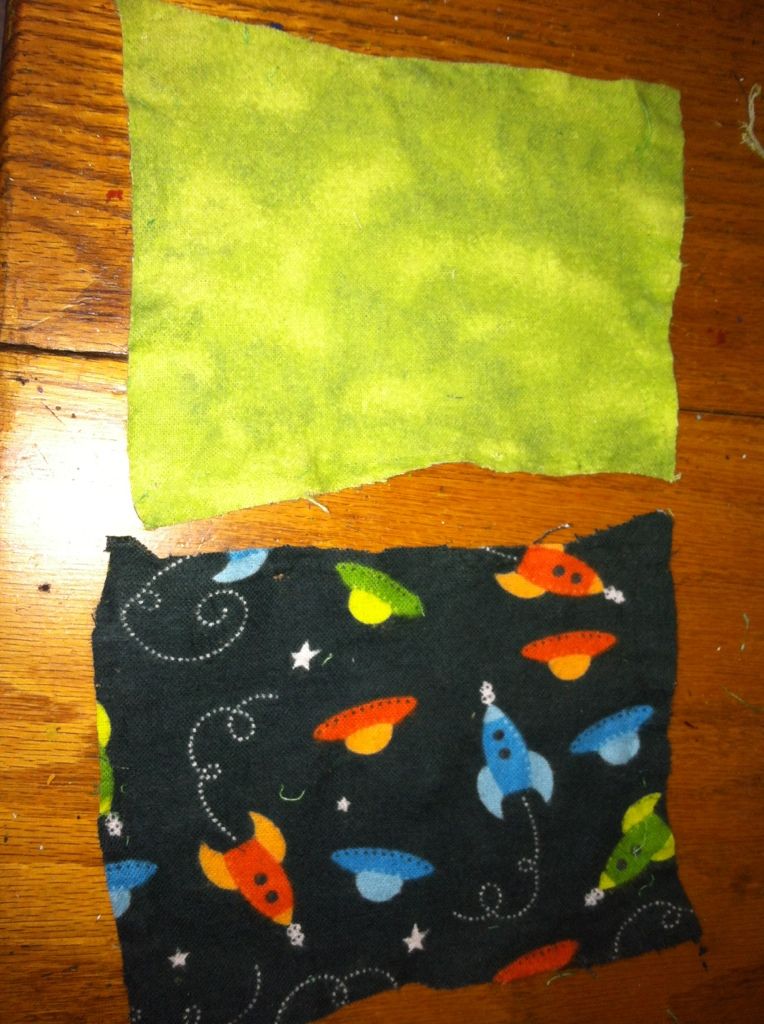
Not everyone who cloth diapers uses cloth wipes. Personally I think it is easier than dealing with disposables (although i do keep a pack on hand for big messes). You can use any material for wipes. Tons of scrap fabric? That works. Have some old t shirts? Use those! Have a million old receiving blankets? Those are great too. However, I wanted to save my shirts for other diaper projects and have absolutely no receiving blankets or scrap, so i went to the fabric store and got some flannel. I had a 40% off coupon so I got it for pretty cheap. (you can also check the remnants bin for some cheap fabric)   If choosing a pretty design I would recommend choosing a dark color (or at least have one side be dark). Stains don't show up as much on dark fabric so they look nicer. Get your materials together and let's get started!


You will need:

2 rectangles of fabric, sewing machine, thread and scissors.


I don't measure my fabric out. I just put the two fabrics together and cut some rectangles out. I have some small, medium, and larger ones which is nice for different diaper changes. If you'd like all yours to match and be perfect, go ahead and measure them out. Remember, the final product will be smaller than the size you cut out!

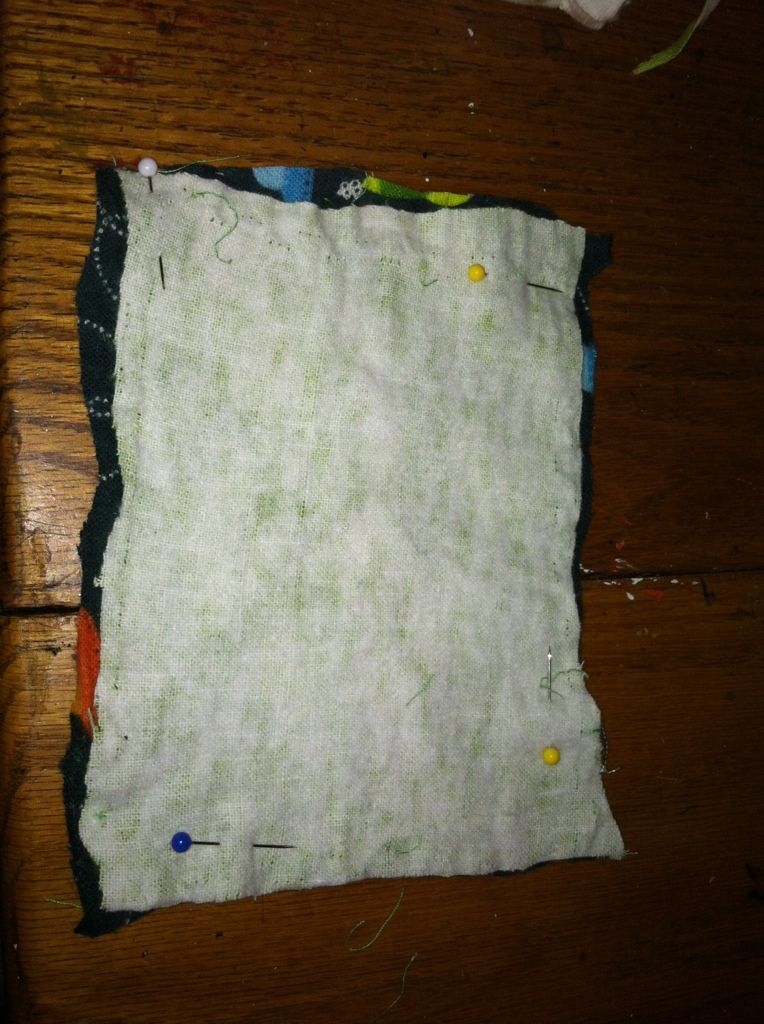
Now, put the two good sides of the fabric together and pin near each corner. 


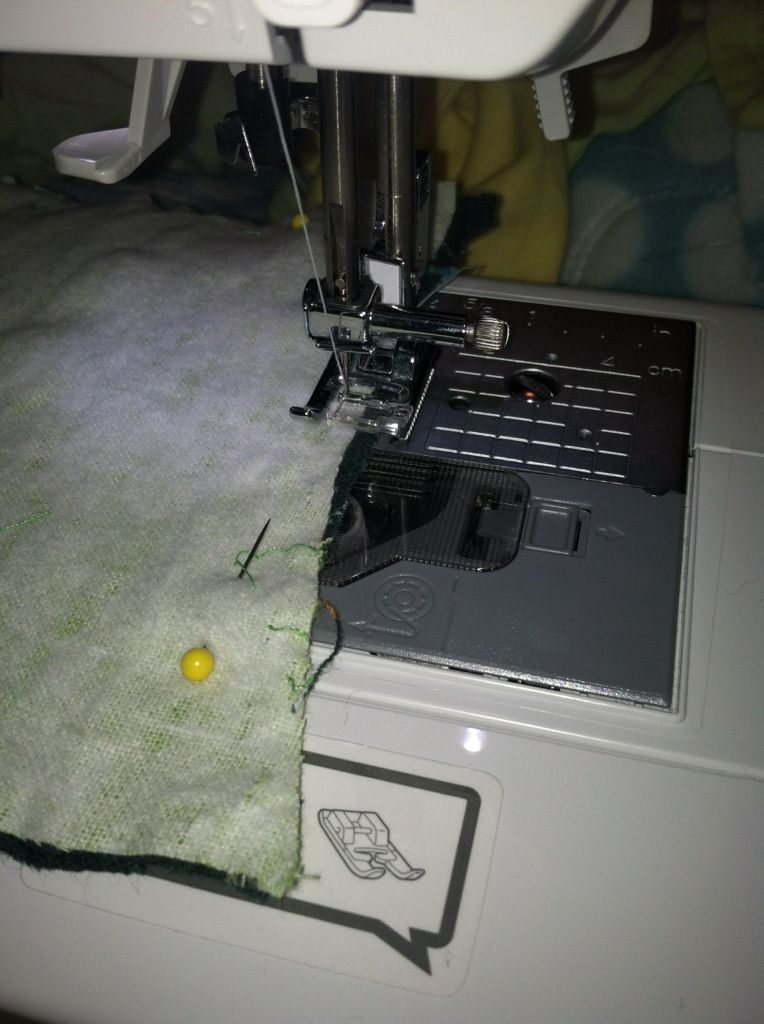
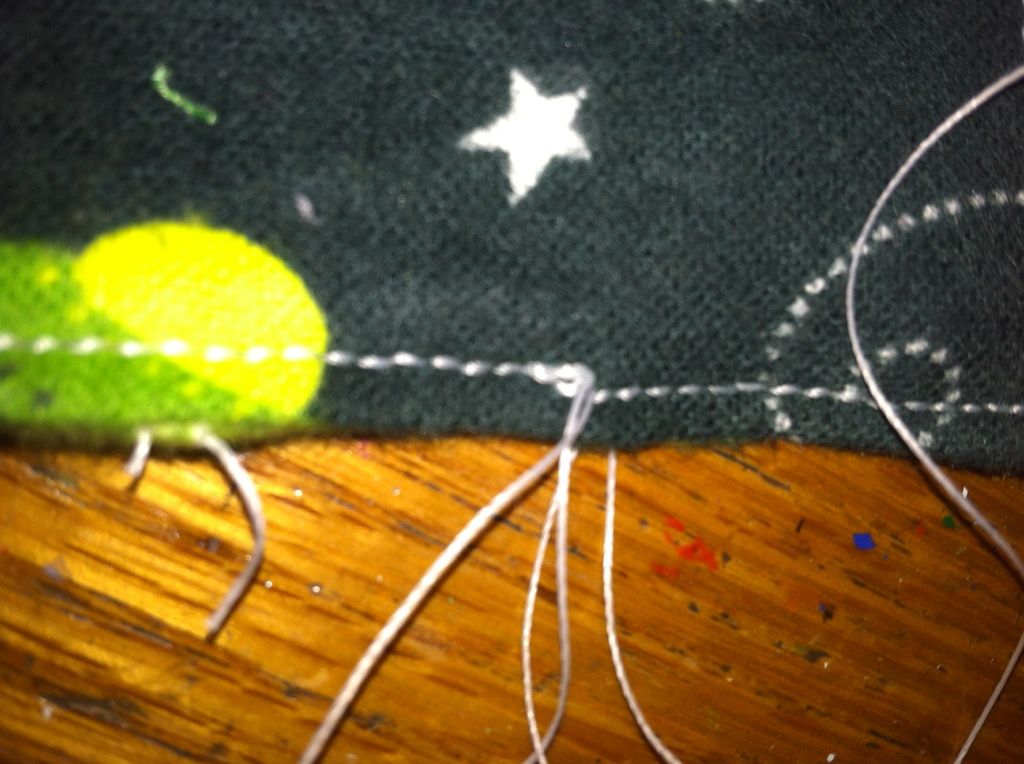
You'll want to start sewing in the middle of one of the longer edges. Make sure to back stitch! When you get to a corner, make sure the needle is down in the fabric, lift the presser foot up, and rotate your fabric. Put the presser foot back down and sew until you reach the next corner. Do not sew the whole way around the fabric! Stop about an inch from where you started, back stitch, then cut the strings.


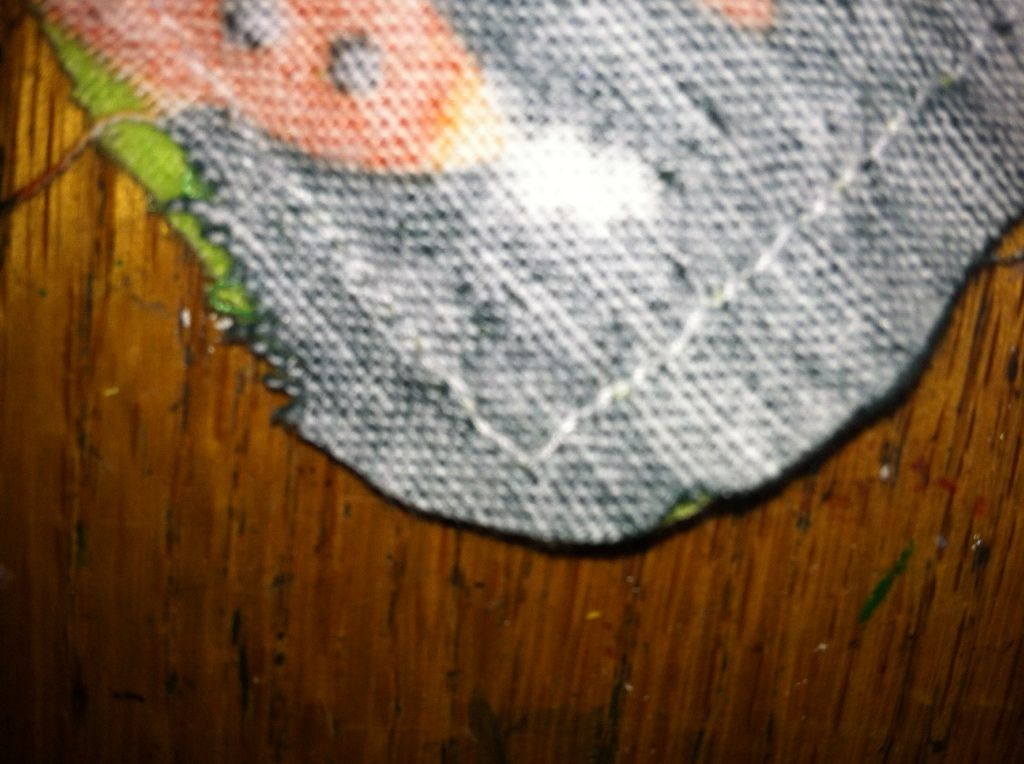
Now you'll want to round your corners. You do this so that the wipe has a more square edge to it. Simply cut the extra fabric around the corners you've sewn, but don't cut too close to the stitch or it can tear!

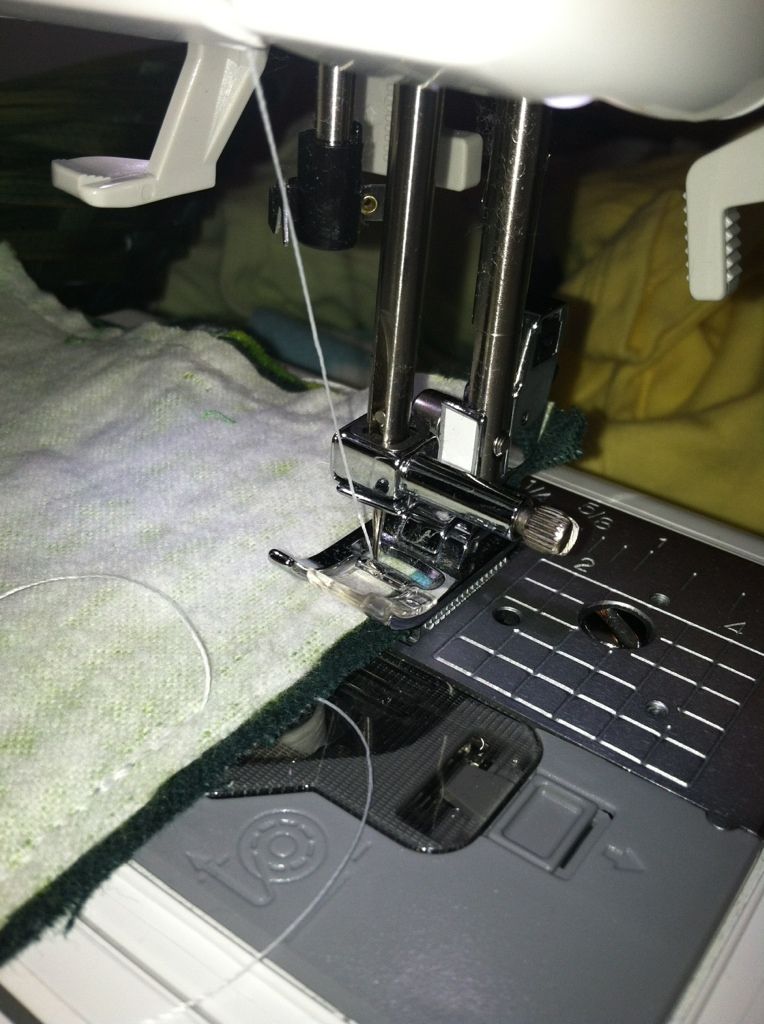
(Sorry my camera got a little blurry there!)

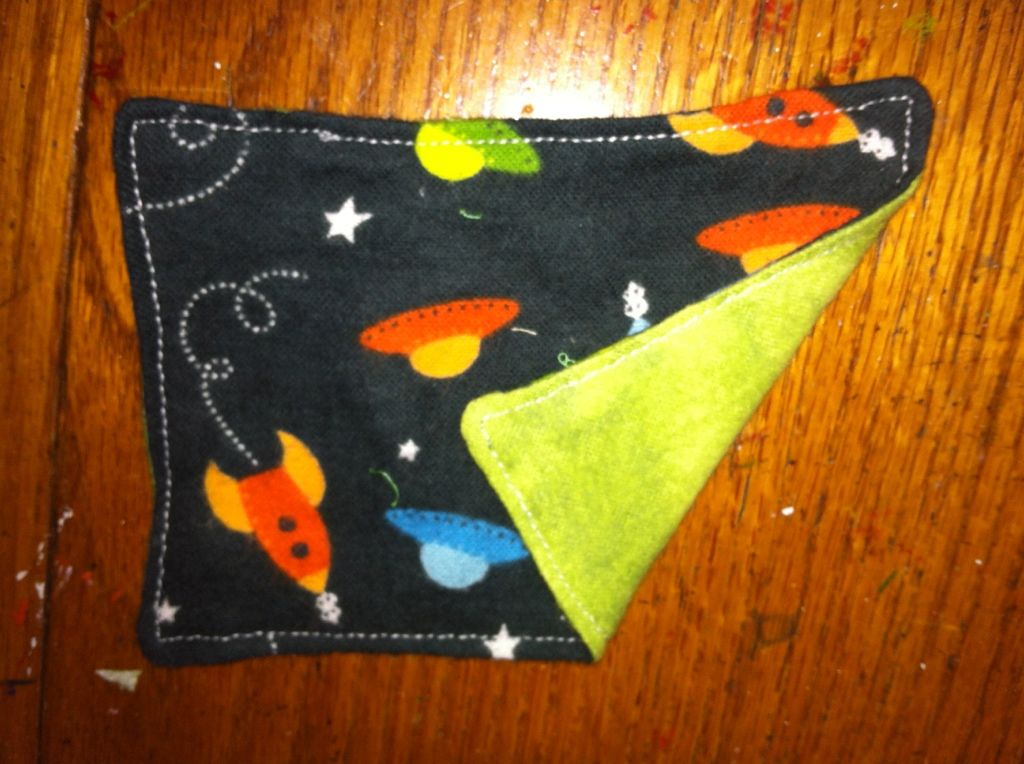
Now using the opening you left, turn the wipe inside out. You'll need to make sure the corners are nice and pushed out. Use a blunt object to help you so you don't tear through the fabric. Make sure your edges are even and pay special attention to where the opening is. Once you smooth that area down, we are going to finish sewing the wipe. Start in the opening area and stitch closely to the edge. You can use a fun stitch such as a zig-zag, but for simplicity sake, i just used a straight stitch. This time stitch the whole way around and over lap a little bit. (Don't forget to back stitch at the beginning and end of your seams!)


Trim your strings and you're done! You've made your first double sided cloth wipe!


Let's Start From The Beginning!

So, maybe a onsie diaper wasn't the best place to start! Elastic isn't the easiest thing to work with. I'm going to post how i taught myself sewing diapers from the beginning. Start small and work your way up! And remember, if it doesn't look perfect it is just a diaper. As long as it functions okay, you're doing a great job!  :)


I started at wipes, and have been working my way up in difficulty. Here is the list of how i worked my way up the levels.   (Im just starting tutorials. eventually these will all be clickable links but for now i'm going as quickly as i can for everyone!  :)


  1. Wipes
  2. Prefolds
  3. Inserts
  4. Contours
  5. Fitteds
  6. Pull on fleece covers
  7. One Size fleece covers

Once I get some PUL (the waterproof diaper cover fabric)  I'll be making those and experimenting with that.  :) 

Tuesday, July 16, 2013

Up Cycled Onsie Diapers!


As I was folding my 8 month old sons laundry one night, I realized that onsies could easily be transformed into diapers. I'm expecting my second baby at the end of the year so I decided to experiment with my idea! I took my sons old onsies that I won't be using on this baby and got to work. This is a step by step tutorial on how I made my onsie diaper.

I have yet to test these because I don't have a newborn. If you try these let me know how they work for you! Also, these are made pocket style. They will need an absorbent insert and a waterproof/water resistant cover (which i'll cover in later tutorials!)

*Don't forget to "Pin it" on Pinterest by hovering over this image and clicking the "Pin it" button!*


You will need:

 Sewing Machine, Thread, Onesie (I used a 0-3 month), Elastic, and optional aplix (you probably know it as velcro, but velcro is just a brand name for aplix)  You could also apply snaps if you preferred. I'll cover snaps in a later tutorial.


First take your onsie and turn it inside out. Take your elastic and hold it in the underarm area of the onsie and hold it there with one hand. With the other hand stretch it down the side to the very end and hold your finger in place at the bottom. Take your hand off the top of the elastic and cut the elastic. This piece is going to look super small, it's okay! Use that piece to measure and cut a second piece of elastic for the other leg.


Sew the elastic horizontally right under the arm. I usually stitch and back stitch 3-4 times just to make sure it is secure. Next take the bottom of the elastic and sew it at the bottom of the onsie, by where the leg opening should be. Again just sew it horizontally to hold it in place 3-4 times. Do the same on the other side of the onsie. Then flip it back inside out.


Now can be the tricky part! You need to "encase" the elastic. First put the needle down in the seam of the sleeve, close to, but outside the elastic. When stitching you DO NOT want to catch the elastic in your seam or it will not stretch correctly!  So put needle down to hold your place. Then stretch the bottom of the onsie so that the elastic pulls to the inside seam of the onsie. Stitch a few forward and then back stitch. Using one hand, hold the elastic and seam together, and with the other hand guide the onsie when sewing. when you reach the end, back stitch.  You're now done with one side! Repeat to the other side.


If you plan on using pins, CONGRATULATIONS! You're done! Trim the extra strings, stuff with an insert, snap the bottom and put it on your babe!  Using alpix? Continue reading!


APLIX: 

Make sure the bottom is snapped and fold it up, as you would if you were putting it on a baby. Then, just eyeball where you want your aplix. Use the fuzzy side ( i really don't know the technical term haha) and measure how big your strip needs to be. Cut and pin it on each side. ( only pin through the top layer)  Unsnap the bottom now and sew the aplix only on the top layer.


Next, resnap it and fold it up. fold a sleeve over to estimate where to place the other aplix tabs. (i make mine about an inch long)  If you want to measure and make your diaper perfect, by all means do it! But to me, it's a diaper inner so it doesn't need to be beautiful, just functional.  :)   Sew the tab on and repeat on the opposite sleeve. 


Your diaper is done! Congrats! You just up-cycled a onsie into a diaper!  :)


If you feel like the waist is still too large, you can add another fuzzy aplix tab onto the outside of a sleeve like so. This makes it so that you can cross over tabs for a tighter fit! 


Welcome!

Hey everyone! I'm a 20 year old mommy who has fallen in love with cloth diapering! The only downside is the cost of them! Personally I can't spend $20 on a single diaper, so I decided to try to make my own! (or at least attempt to!) The only sewing experience I have is a middle school Home-Ec class so don't worry if you don't know how to sew either! You'll pick up on it! It's an adventure, full of trials and errors, but I'm getting better at it! I'm making this blog to try to help anyone out there who is thinking of cloth diapering on a budget and wants to attempt to make their own! Hope you all enjoy joining me in my sewing adventures!