Not everyone who cloth diapers uses cloth wipes. Personally I think it is easier than dealing with disposables (although i do keep a pack on hand for big messes). You can use any material for wipes. Tons of scrap fabric? That works. Have some old t shirts? Use those! Have a million old receiving blankets? Those are great too. However, I wanted to save my shirts for other diaper projects and have absolutely no receiving blankets or scrap, so i went to the fabric store and got some flannel. I had a 40% off coupon so I got it for pretty cheap. (you can also check the remnants bin for some cheap fabric) If choosing a pretty design I would recommend choosing a dark color (or at least have one side be dark). Stains don't show up as much on dark fabric so they look nicer. Get your materials together and let's get started!
You will need:
2 rectangles of fabric, sewing machine, thread and scissors.
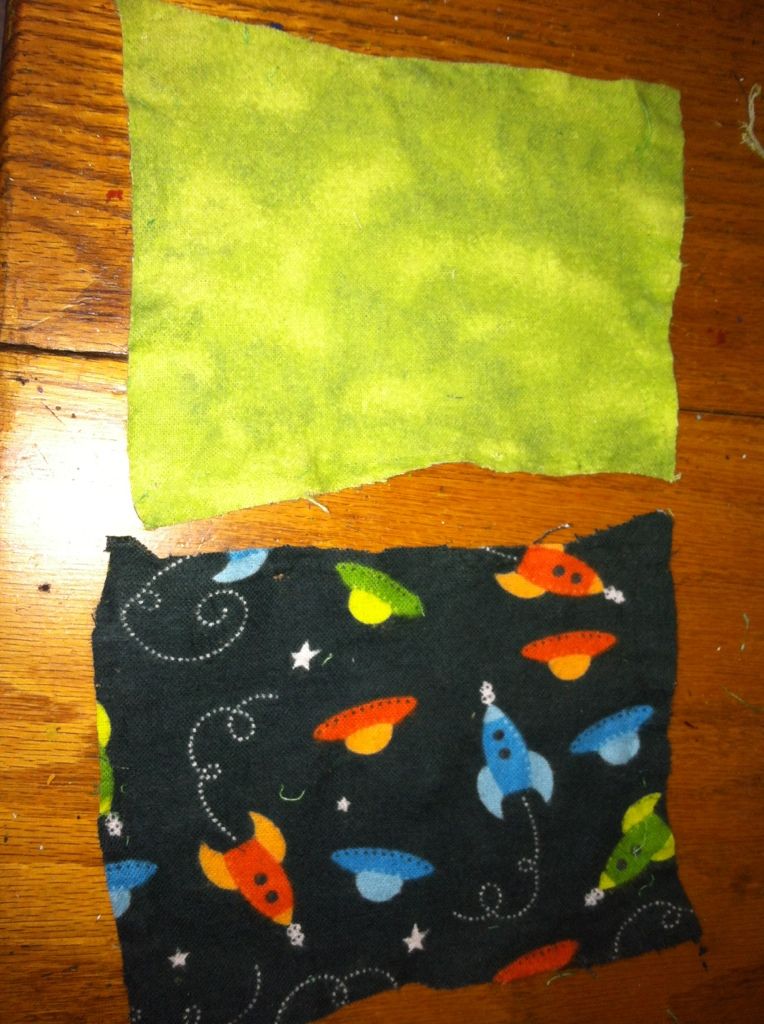
I don't measure my fabric out. I just put the two fabrics together and cut some rectangles out. I have some small, medium, and larger ones which is nice for different diaper changes. If you'd like all yours to match and be perfect, go ahead and measure them out. Remember, the final product will be smaller than the size you cut out!
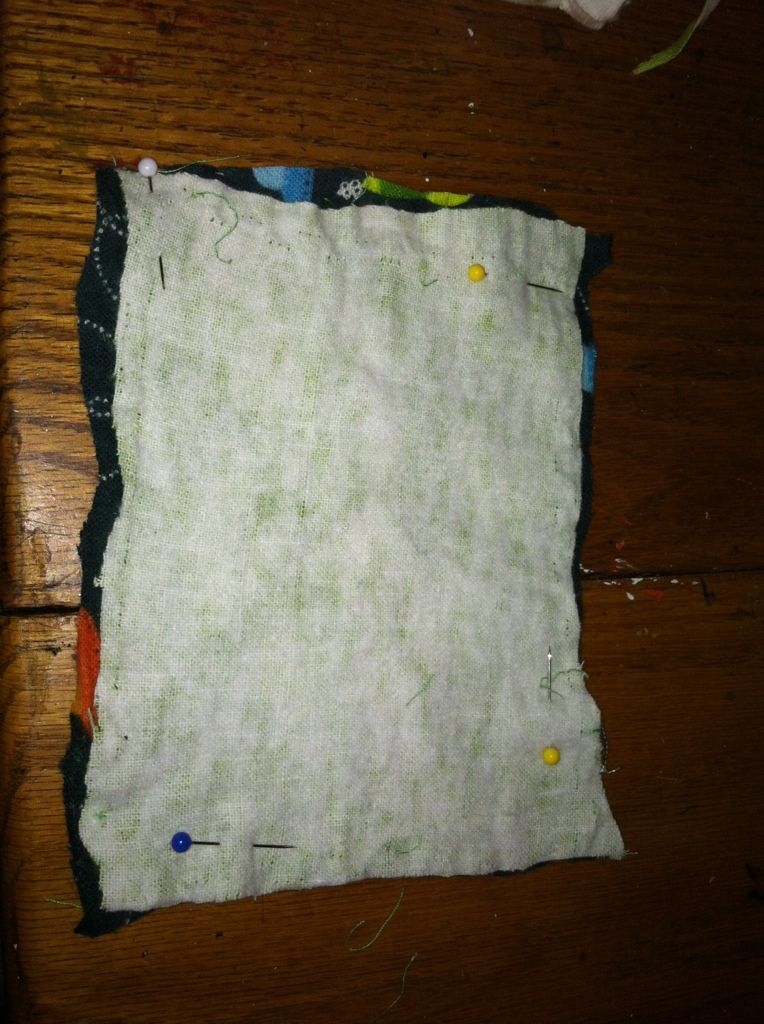
Now, put the two good sides of the fabric together and pin near each corner.
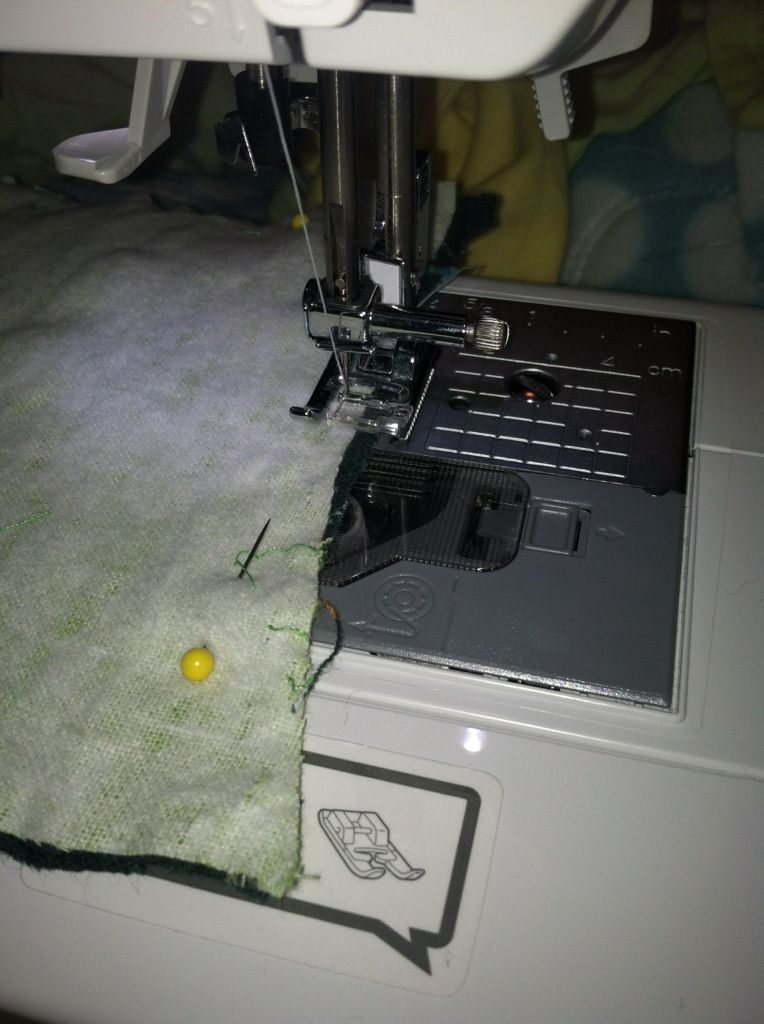
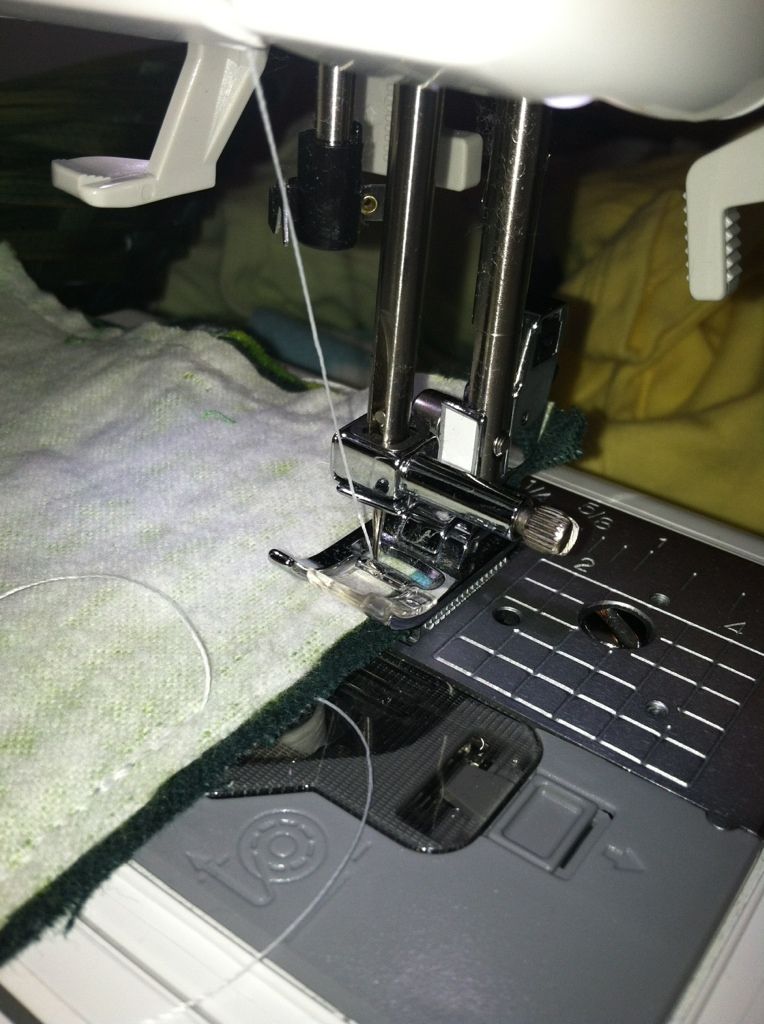
You'll want to start sewing in the middle of one of the longer edges. Make sure to back stitch! When you get to a corner, make sure the needle is down in the fabric, lift the presser foot up, and rotate your fabric. Put the presser foot back down and sew until you reach the next corner. Do not sew the whole way around the fabric! Stop about an inch from where you started, back stitch, then cut the strings.
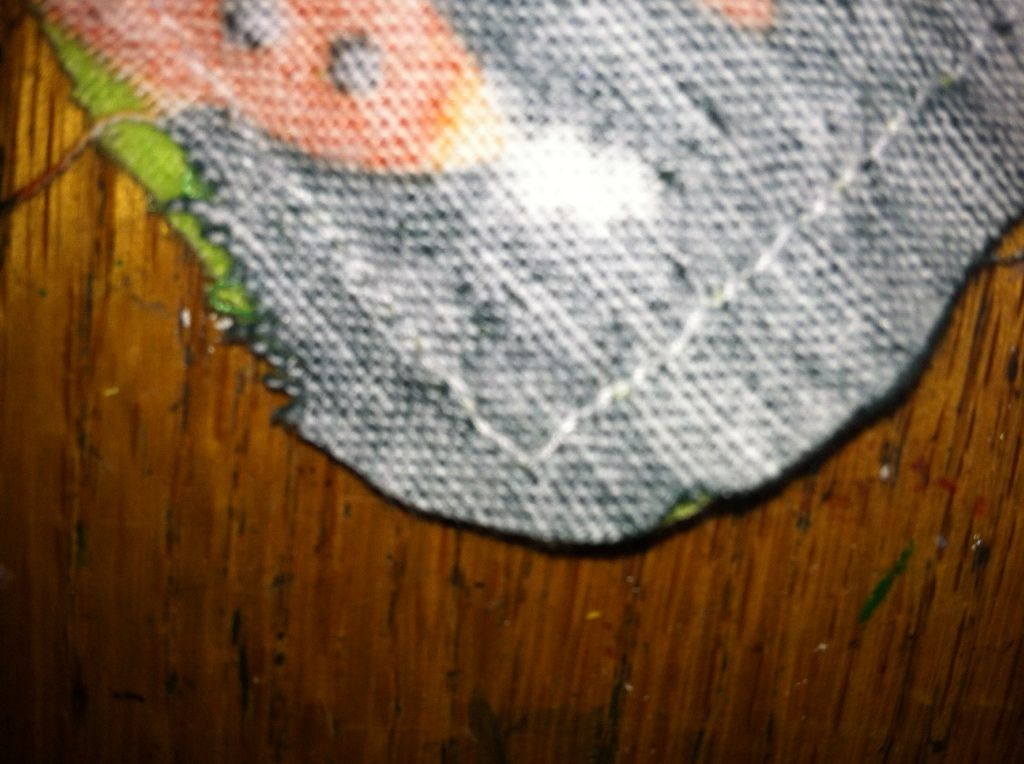
Now you'll want to round your corners. You do this so that the wipe has a more square edge to it. Simply cut the extra fabric around the corners you've sewn, but don't cut too close to the stitch or it can tear!
(Sorry my camera got a little blurry there!)
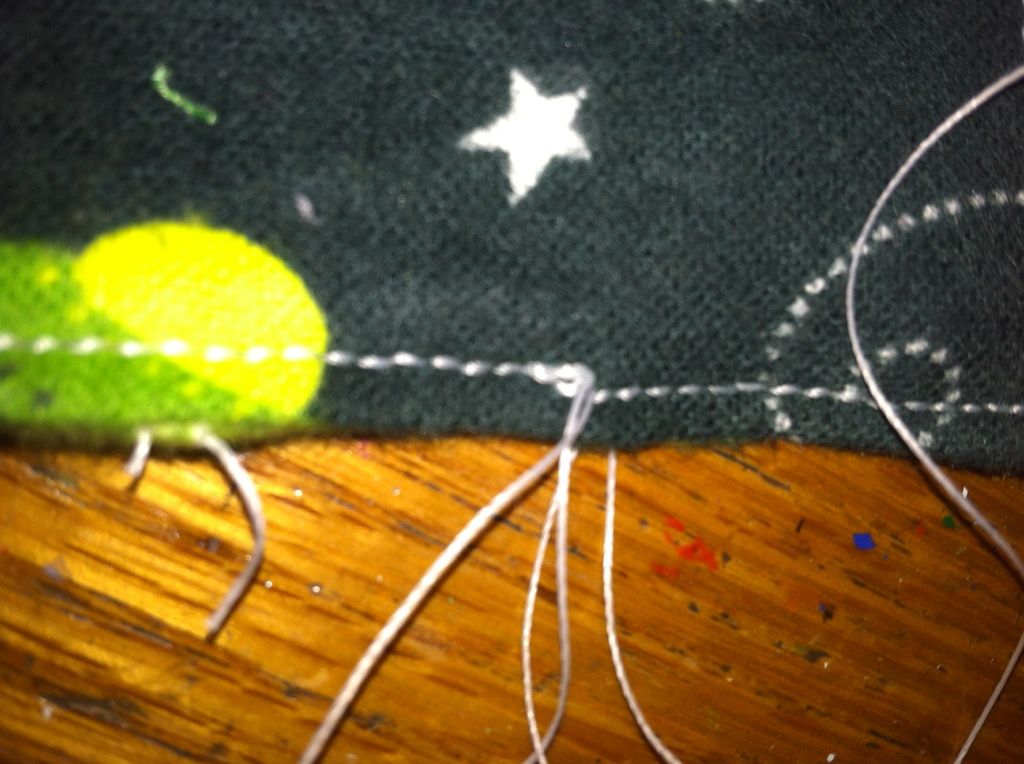
Now using the opening you left, turn the wipe inside out. You'll need to make sure the corners are nice and pushed out. Use a blunt object to help you so you don't tear through the fabric. Make sure your edges are even and pay special attention to where the opening is. Once you smooth that area down, we are going to finish sewing the wipe. Start in the opening area and stitch closely to the edge. You can use a fun stitch such as a zig-zag, but for simplicity sake, i just used a straight stitch. This time stitch the whole way around and over lap a little bit. (Don't forget to back stitch at the beginning and end of your seams!)
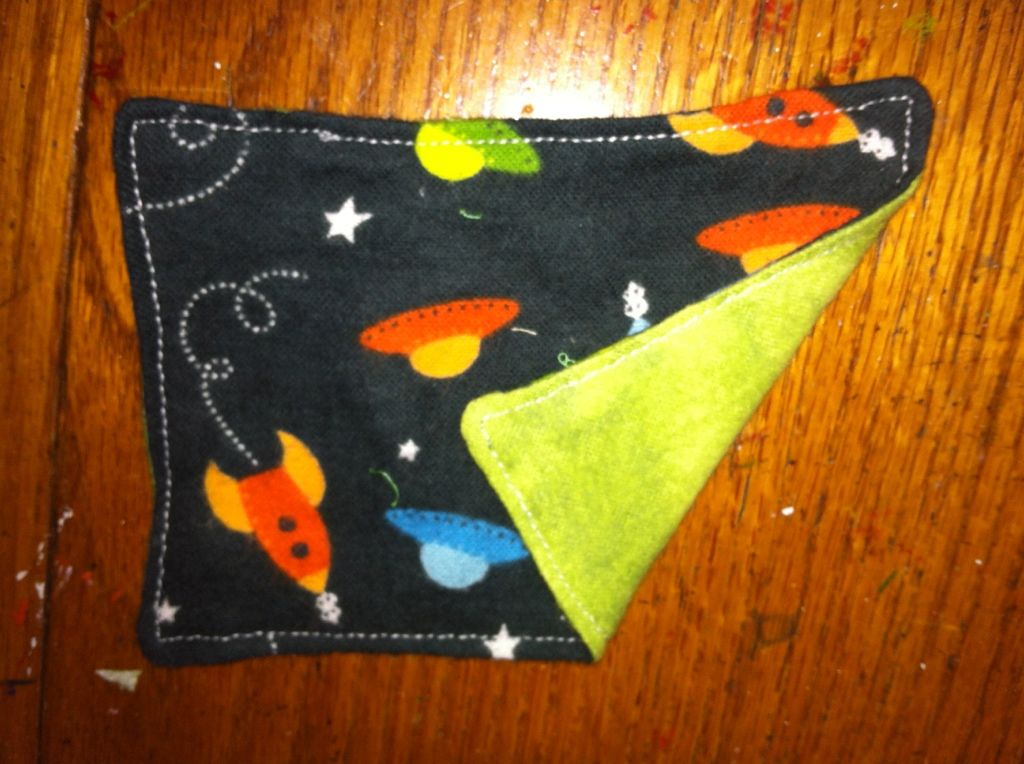
Trim your strings and you're done! You've made your first double sided cloth wipe!
No comments:
Post a Comment